Yes, I know I've been absent. For a couple of years. Or more? And please don't take this as any indication that I'm going to open a new store or blog regularly! I realize that haven't updated any of the links here. But if I decide to "reappear" I will be sure to make the appropriate updates. I'm not even sure I remember how! LOL!
The reason for this blog post is due to a gift I made for a dear friend's birthday. I wanted it to be special, and very personal. Hopefully I accomplished that! I posted a few photos in a closed Facebook group, and had a number of requests for more information. So I decided this was the easiest and most expedient way to accomplish that!
This started off as a scripture Rolodex for my friend. Then it grew into something more. You will see that as we go along and I show more photos (in my Part 2 post?) I altered a
Petite Rolodex for this project. It was an old one from the office, and the base was originally just plain black plastic. After cleaning the dust and grime from it with alcohol and baby wipes, I used
Tim Holtz Alcohol Inks to color the base.
This close up will show the color a little bit better. Be sure to use colors that will show up on the black base. That part was a bit more difficult than I anticipated.
I created the monogram in Microsoft Word by following this
monogram tutorial I found through Pinterest. It's a few steps...but so easy to follow her tutorial! (For those of you who don't know, I'm a
Pinterest addict!) The gemstone around the monogram was a ribbon buckle I found at Hobby Lobby. I easily snipped out the center bar to make it work.
To create the Rolodex cards, I simply cut cardstock scraps, then used a
Corner Rounder on the upper edges. I used a
Rolodex Business Card Punch for the two holes in the bottom, which luckily, I already had! I know there are several companies out there who make wafer thin dies to cut Rolodex cards...but this was the easiest and least expensive solution for me! And what a perfect way to use up your cardstock and paper scraps! Gotta love that! Use what you have, and just enjoy the process!
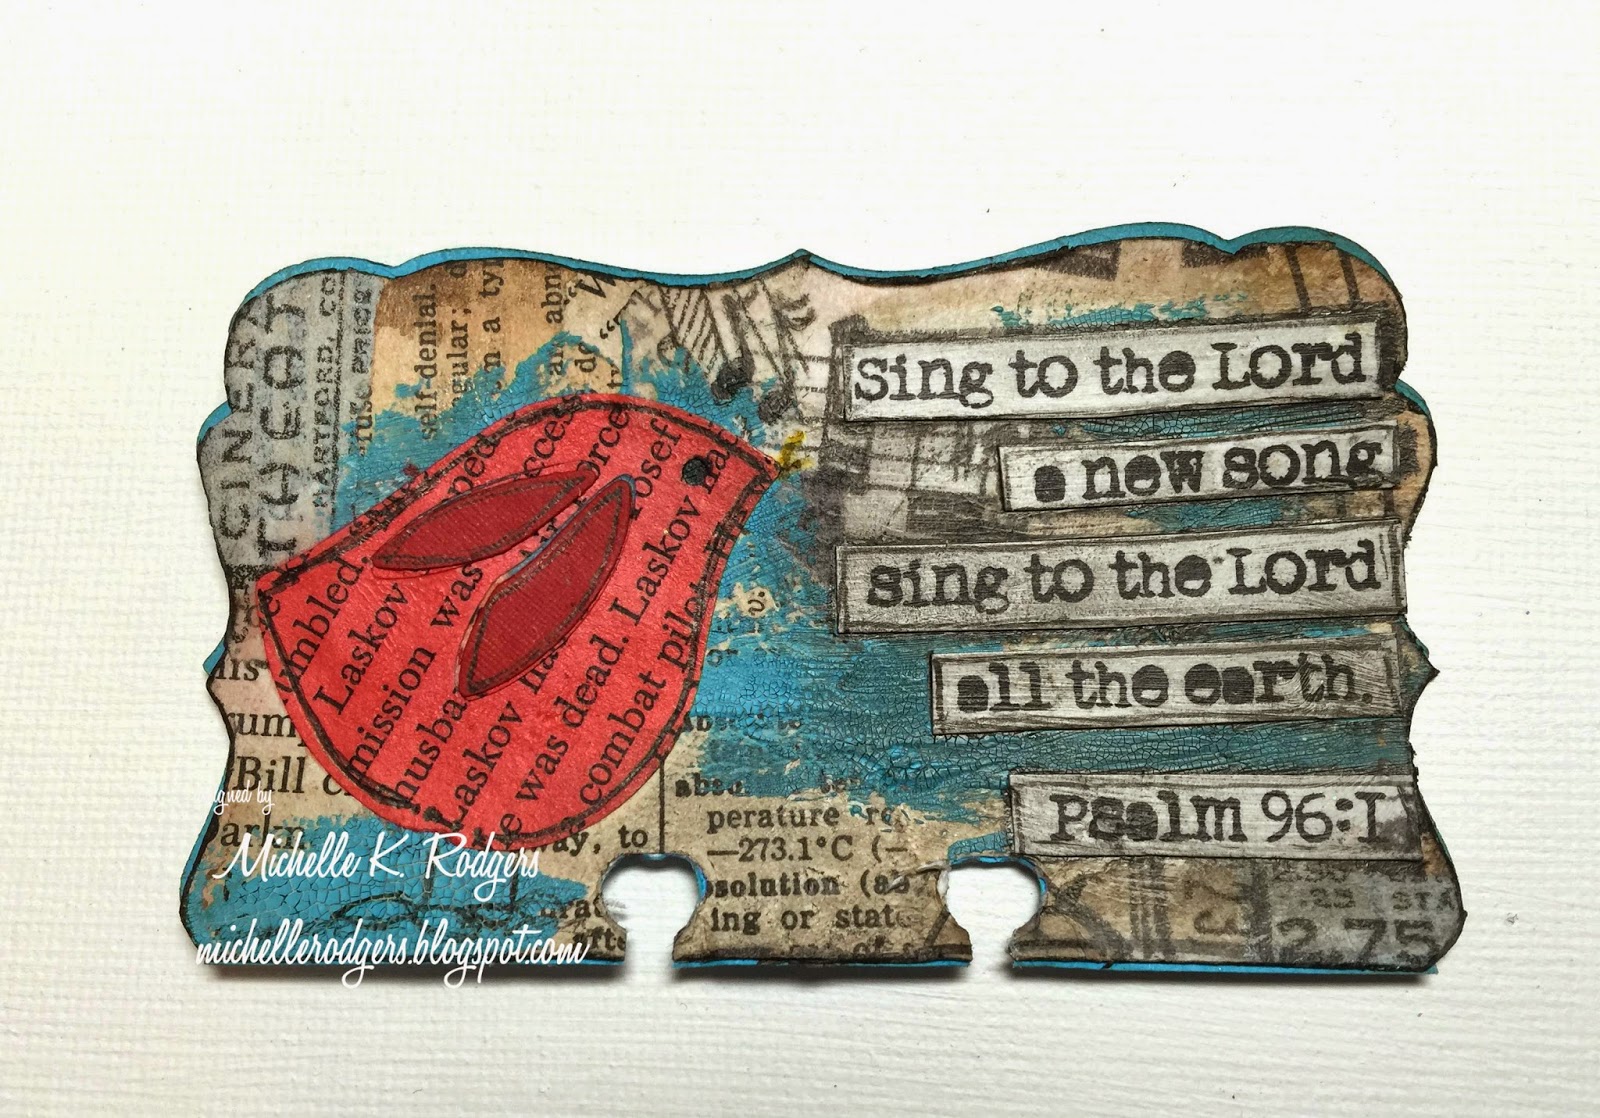
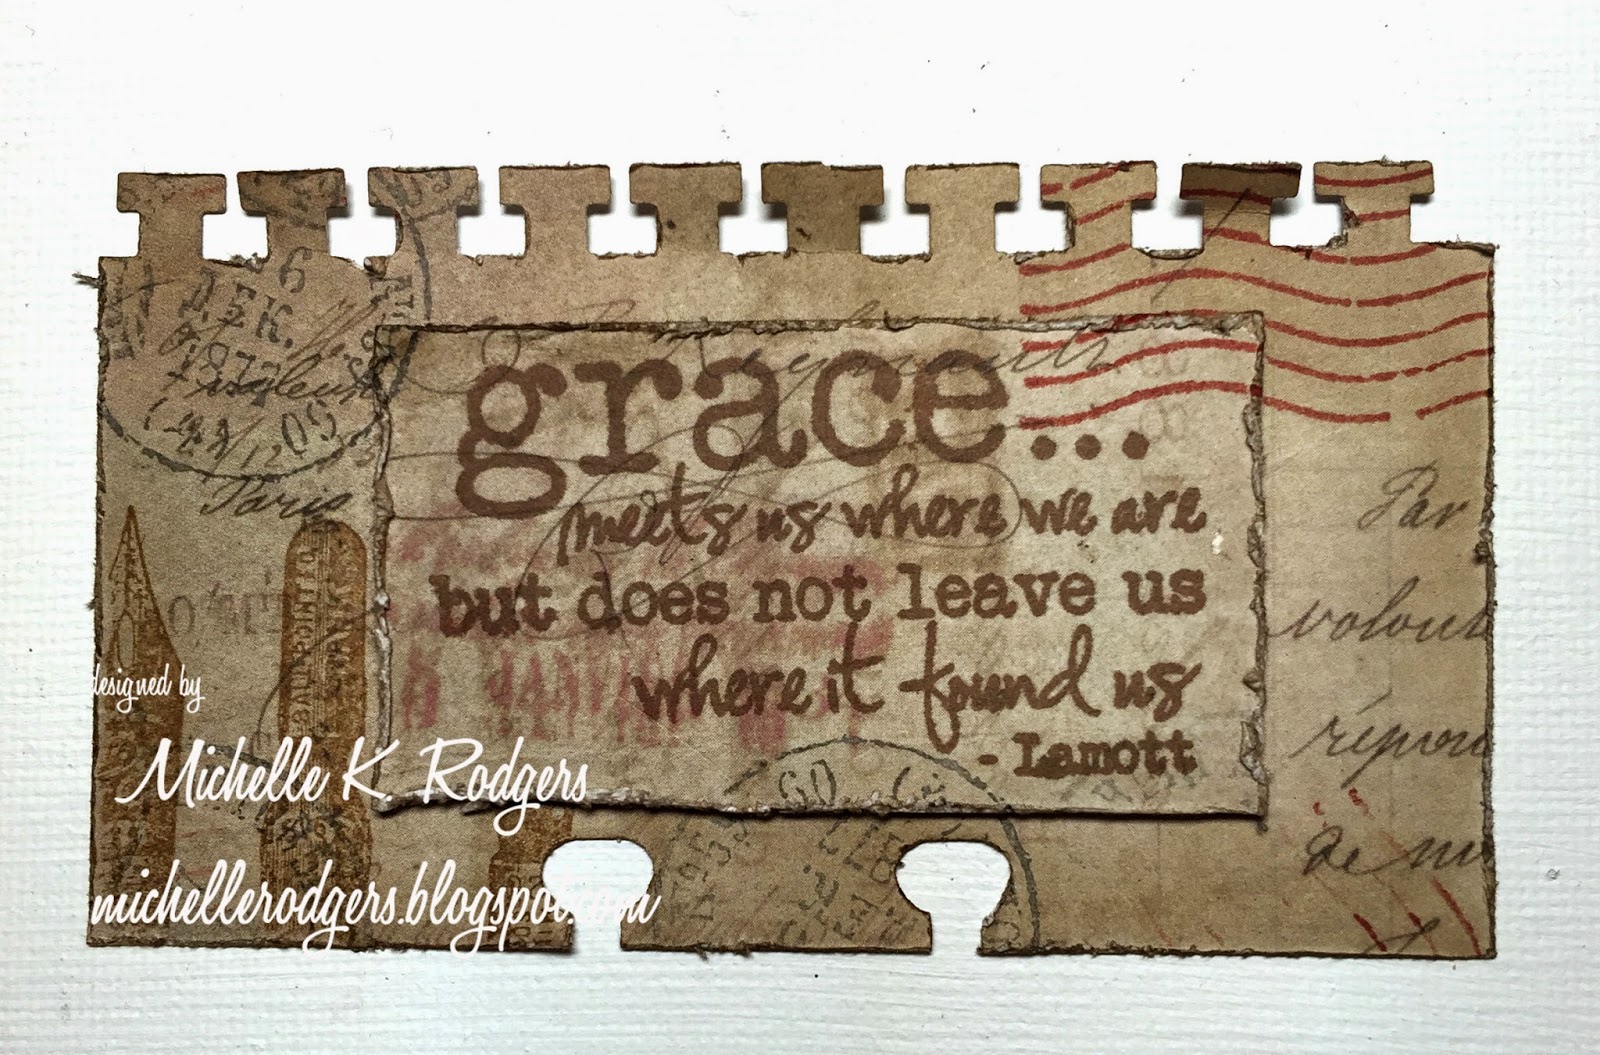
Here are a few of the cards I made for her. Please note that I am not compensated by anyone in any way for any of these products. I'm just trying to make it easier for you to see what I used. :)
The "Hope" ticket is from Tim Holtz Adage Tickets. The pin is from Maya Road, and the rest is bits and pieces from my stash.
This stamp is a Plain Jane from
Verve Stamps. I cut up the image and just played with it. Oh, how I DO love Julee and her scripture stamps! I've about worn out the ones I have, and desperately need some new ones!!!
This stamp is also a Plain Jane from
Verve. I didn't see it on her website, so it may be sold out or discontinued.
This is made from a sticker I found at Hobby Lobby. I had to cut it up to make it work, but I love that verse, and didn't have a stamp for it.
This image is by Phyllis Harris from Unity Stamps. It's called
Your Wings Exist. LOVE that stamp set, and I've used it numerous times.
This stamp is in a Recollections clear stamp set called Prayer Sentiments. I bought at Michael's some time ago, but I think it's still available.
This sentiment is from a sticker sheet I bought at Hobby Lobby. Lace and flower are from my stash.
The background for this card was created using some Hero Arts flower stamps I've had (and loved) for ages! Surrender is my friend's "one little word" for 2015. I cut the shape using a Spellbinders die. I'm pretty sure it's
Spellbinders Labels One.
This shape was cut using
Spellbinders Labels Four. The stamp is from Printworks, purchased at Hobby Lobby. The flowers were made with a Martha Stewart punch.
For some reason Blogger won't let me upload anymore pictures, so I will be back later with Part 2 if there is enough interest.
In the meantime, please ask if you have questions or comments about something I neglected to make clear. Just leave a comment for me here and I'll get back to you. I'm easy to find these days.
Thanks for stopping by...


